Pre-Launch: Add Texts to Live Chat
To update your Live Chat texts, go to the menu icon (☰) in the top right corner → Settings → select your Live Chat channel.
Editable Text Fields
Internal name – only visible to your team.
Public name – shown to visitors in the chat.
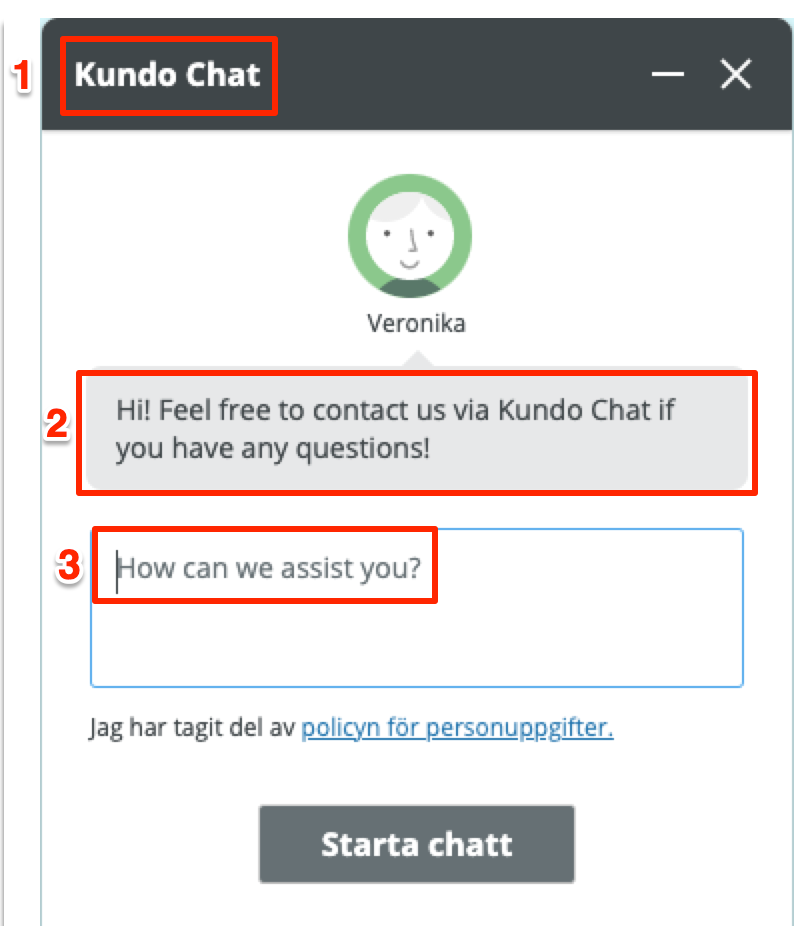
See (1) in the example image below.Company name – displayed as the sender name.
Welcome message – shown when the chat opens.
See (2) in the example image below.Queue welcome message – shown when a visitor enters the queue.
Queue message – general message while the visitor waits.
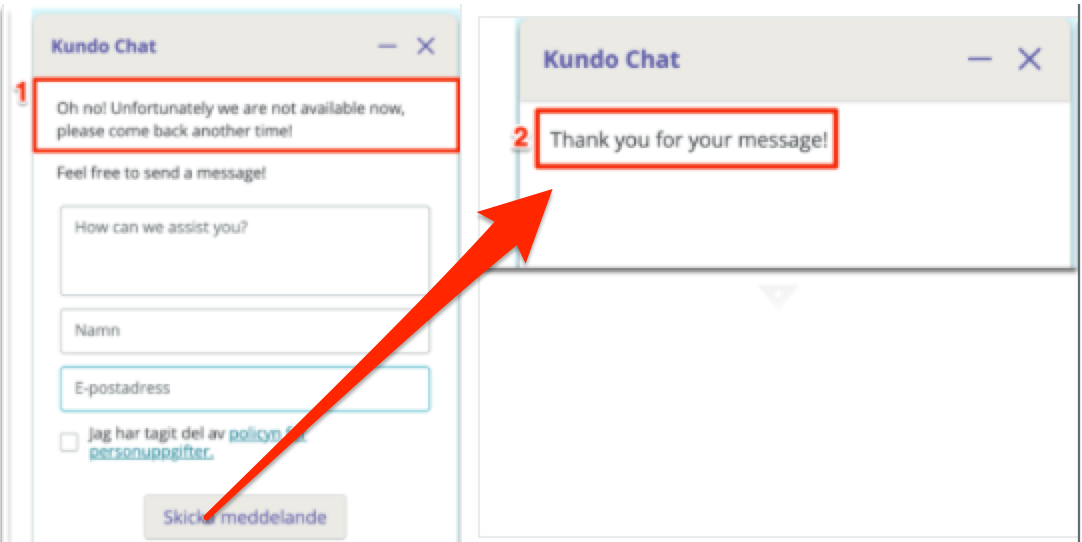
Offline message – Shown when the chat is closed.
If you’ve enabled the option to show the chat button outside working hours or allow email messages, this is the text visitors will see.Question box text – Appears in the input field when the visitor is prompted to ask their question.
Initial message – The first message sent by your team when a chat is started
- Text in the answer box: Displayed in the first box where the visitor can ask a questions when the chat opens. See (3) in example image below.
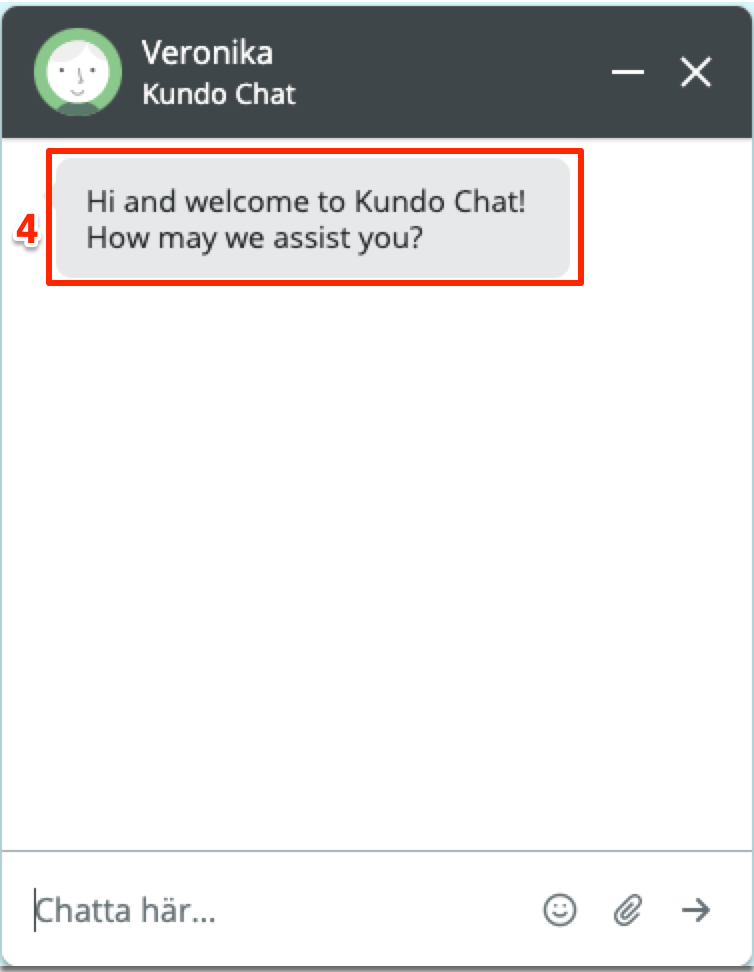
- Start message: Message that is automatically sent as the first message when a visitor initiated a chat. See (4) in example image below.


- Text above the message form: If you are allowing your visitors to send a message when the chat is closed, this is where you can add a message to prompt them to do so e.g., 'Feel free to send a message!'
- Message confirmation: When a customer sends a message they will receive a message.
