Integrate a Help Center into your website
If you don’t want your visitors to have to leave your website when they navigate to the Help Center, you can integrate it so that it appears as part of your website. Create a new page on your website and add the Help Center there, or add it to an existing contact or customer service page.
When the Help Center is integrated in this way, the navigation are always available so visitors can easily access other parts of the website once they have finished viewing the Help Center. It also drives traffic to your website when visitors end up in the Help Center through google searches.
As a complement, it is also possible to make the Help Center accessible on all or selected pages on the website using the Help center widget.
Useful to know
There are some things that are useful to know when integrating a Help Center into your website:
Certain elements of the Help Center are not visible when it is integrated into your website. This is to ensure it blends in as naturally as possible by making the Help Center page as similar to other pages on your website as possible.
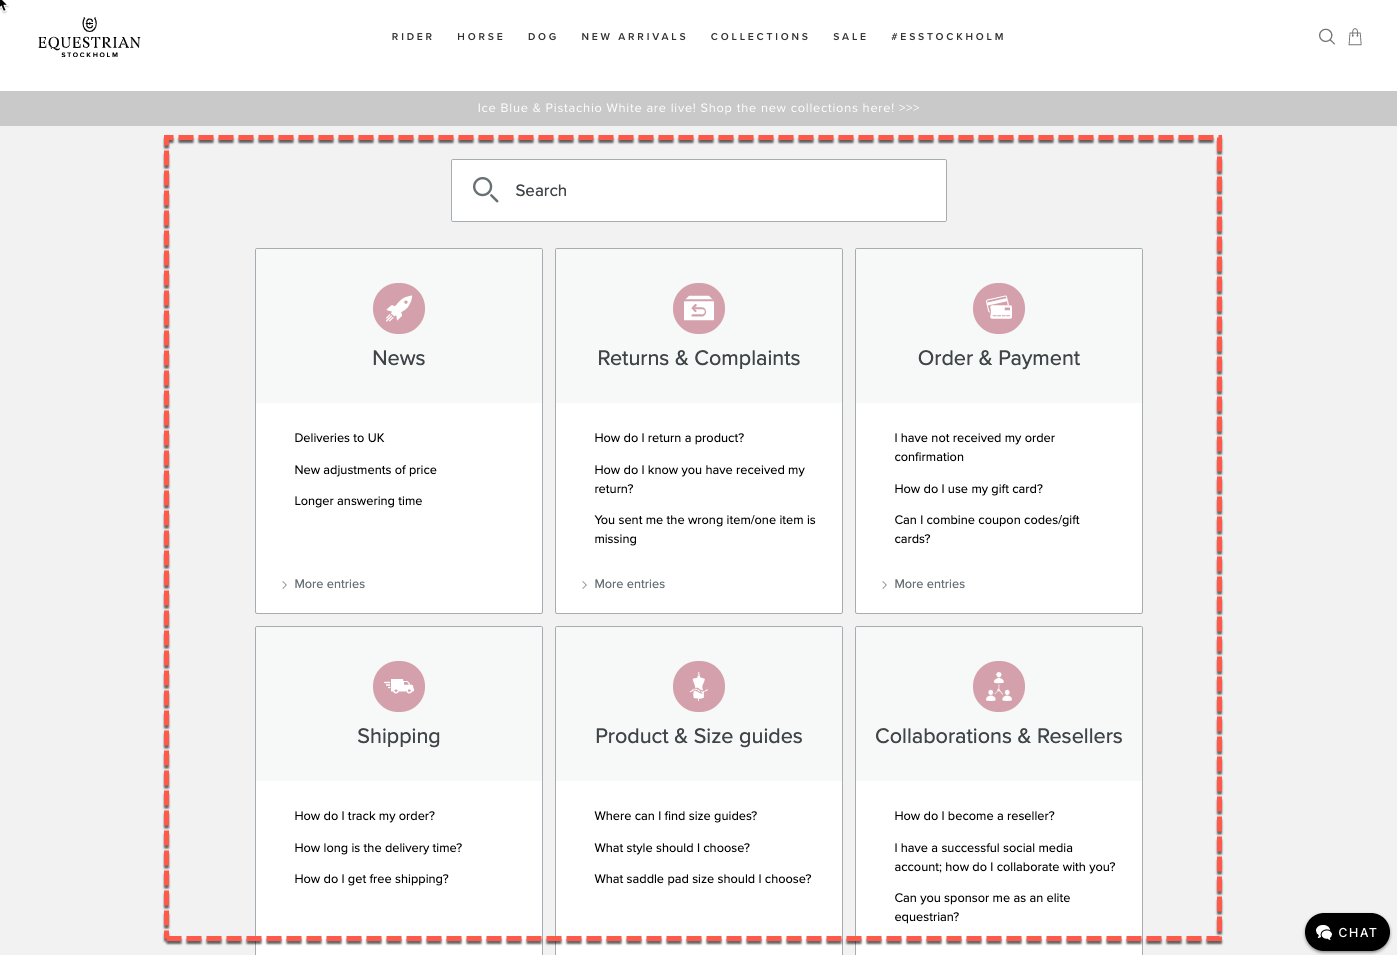
The support links in the top right corner are not visible. It is therefore essential to ensure that important pages can be accessed via the navigation on your website instead.
Background images are not visible.
The logo and name of the Help Center are not visible. If, for example, you want a heading and a short text above the search field, you need to add this to the page on your website where the Help Center is embedded.
The footer with a link for information about cookies is not visible. Therefore you need to provide information about these cookies in the same location as information about other cookies on your website.
Visitor statistics, e.g. from Google Analytics or Google Tag Manager, will be available on your own website instead of under the Help Centers settings.
To ensure the Help Center integrates well with your website, it is a good idea to review the look of the Help Center, e.g. by changing the background colour so that it is the same for both. These changes can be made on the Style page in the settings for the Help Center. If it has a pale/white background, you should also turn on the setting Activate frame around content.
You can also change the font in the Help Center to one used on your website.
What to do
Some of the settings can be implemented directly in Kundo, while other steps are more technical and need to be carried out by a technician with access to your website.
Go to the page Integrate on website in the settings for the Help Center. Copy the code that is shown there and insert it on your website where you want the Help Center to be displayed.
On the same page you need to complete the field URL using the address for integrating the Help Center.
On the same page you will find a code for adding a sitemap for the Help Center. You must add the code to your robots.txt.
Remove the following rule from robots.txt on your website:
Disallow: /*?Go to the page Visitor statistics in the settings for the Help Center. Make sure that Google Analytics accountID, HTML placed in the head-tag and HTML placed in the body-tag are empty.
Optional steps
Activate collection of visitor statistics for all pages in the Help center. This is necessary if your tool for visitor statistics does not automatically include all page views. The technical team for your website will do this manually, by adding an event listener using JavaScript.
document.getElementById('kundo-knowledge-embed')
.addEventListener('kundo-knowledge:page-navigated',
function (event) {
// Kod för att skicka data till besöksstatistik
})If you want the scroll position to be retained on page changes in the embedded Help Center, add the following script before/above the embed script:
<script>
window.KUNDO = window.KUNDO || {};
window.KUNDO.flags = ["keepScrollPosition"];
</script>